Watch the video for a start to finish run through on how to create a travel itinerary, or use the steps and images below.
Itineraries are the heart of what we do for you at Vamoos. You can provide all the information you wish to help your client feel in control of their holiday and have offline access to all the details of their trip.
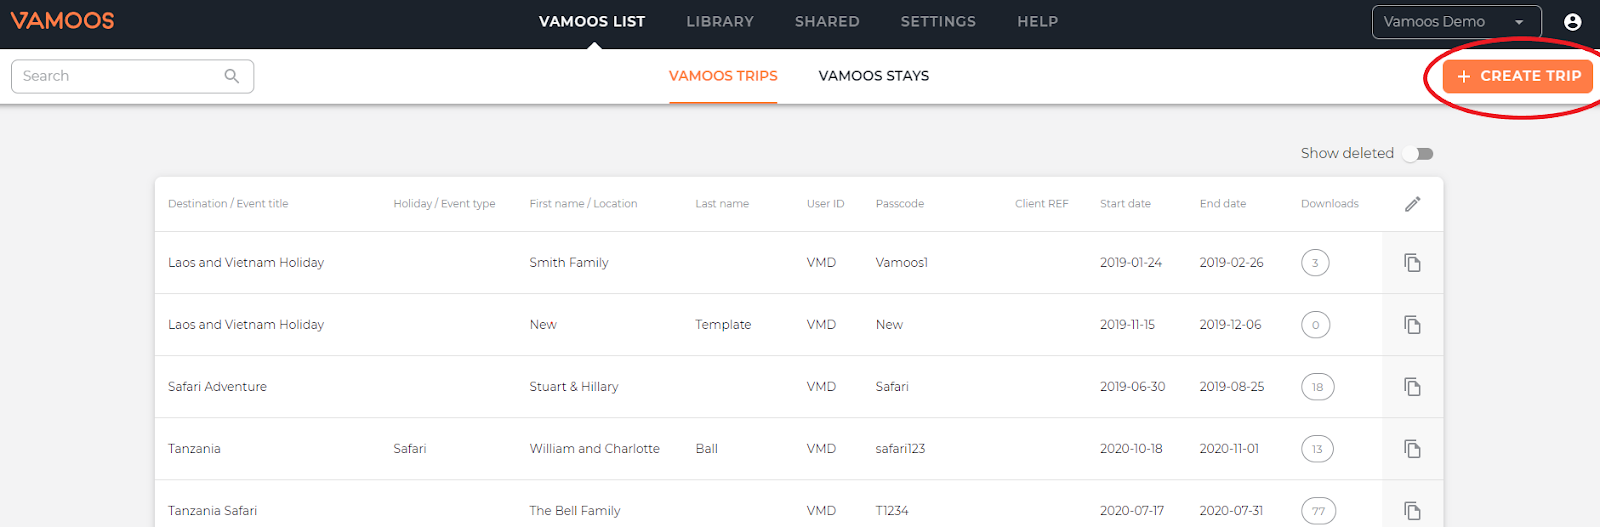
Once you have selected “Create Trip” on the Vamoos List page, you will be taken to the “General” page.
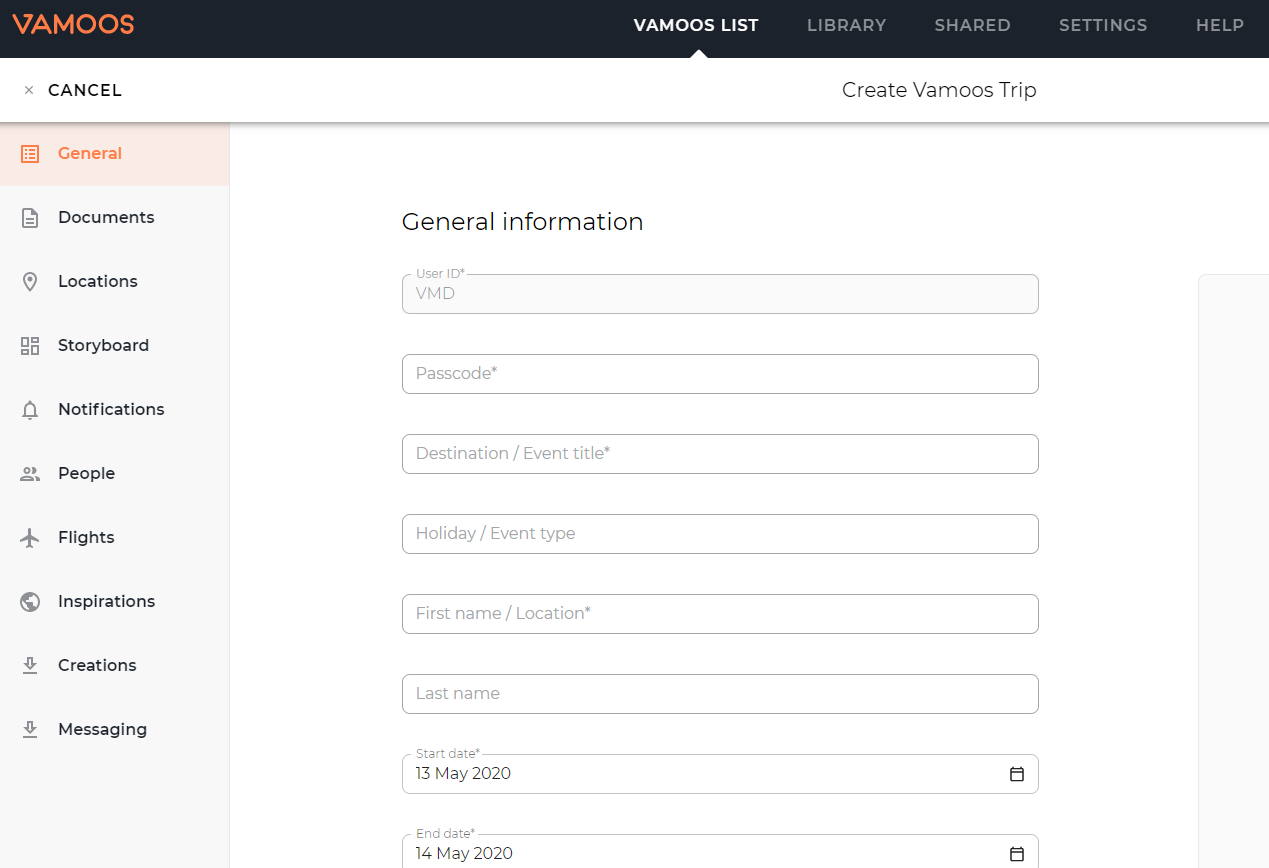
General information
User ID and Passcode
This is a 2-step login that you will give to the client to access their information in the Vamoos apps. It is made up of an acronym to identify your company which is pre-set during sign up (User ID), followed by a Passcode which you create.
Trip Information
Provide the key trip information that will appear on the home screen of the app. We recommend that you show the Trip name and the name of the traveller/s.
Countdown
The Countdown feature on Vamoos creates excitement for travellers for their trip. Simply choose the Start and End Dates and Vamoos will create the countdown on the home screen.
We also allow you to set an international time zone, so the countdown will be accurate even if your client lives on another continent.
Client Ref
This is an internal reference you can add to help you search for specific trips. This will not show on the app.
Enable Posts / The List
Choose if you want these features accessible via the app home screen.
Overlay Logo
Here you can upload a different company logo just for this trip.
Background Image
Choose the perfect image to bring excitement for the trip ahead and create a visually stunning app for your clients.
Tips on Photos:
- The larger the image size the better it will look particularly on tablets. Ideal sizes are around 2048 x 2048 pixels and the maximum size is 4MB.
- We crop horizontally, not vertically, to fit your image onto the mobile screen. So the height will always be the same, but the width will be cropped for the mobile.
- We use white font for the text throughout the app; so a white background won’t work. Darker images work well, as does blue sea/sky as long as they are not too “busy”.
These images can be uploaded from your desktop or the Library

If you have any further questions about this section of Vamoos, you can reach our support team on [email protected]. Or, take a look at our video library for further support!